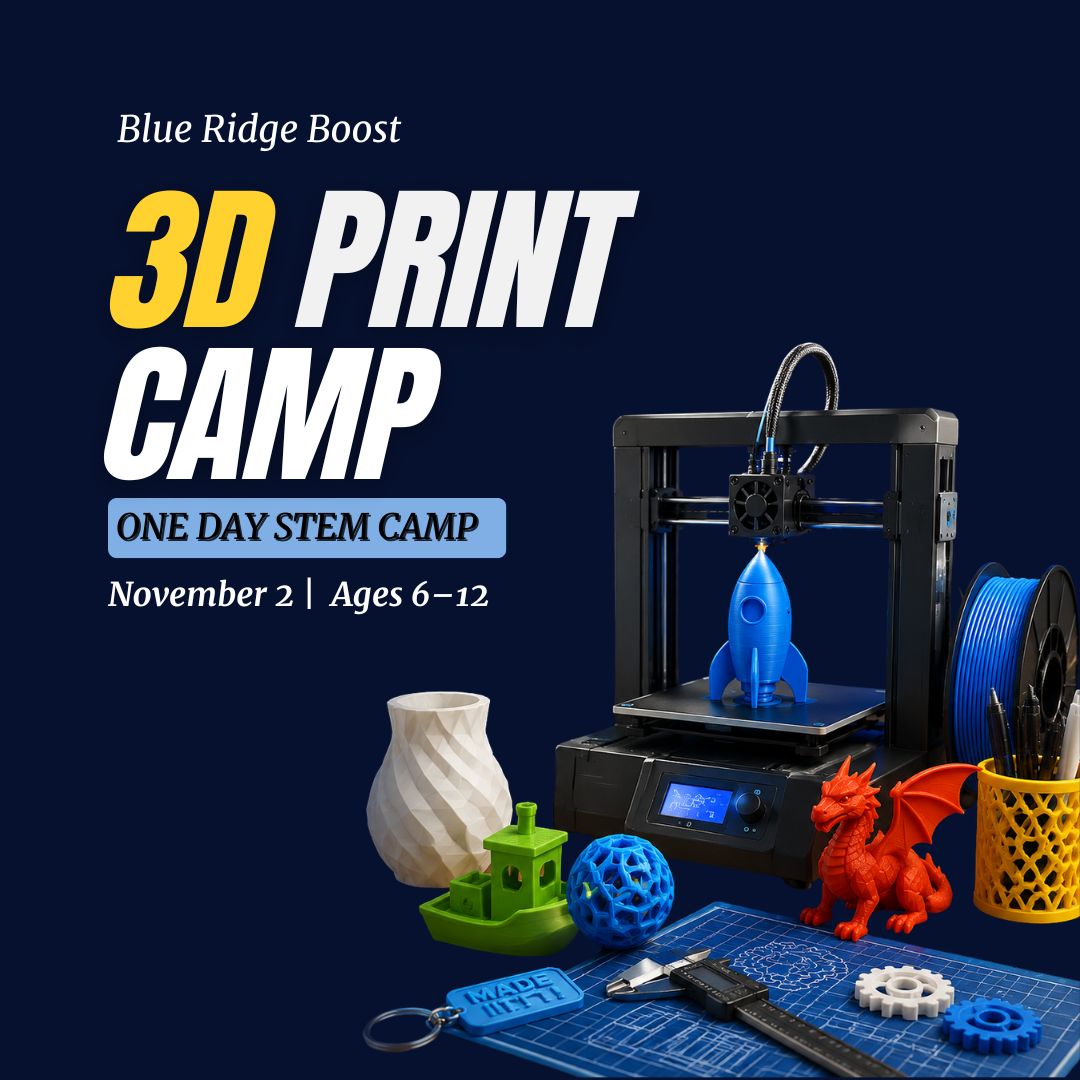
3D Print and Design One-Day Camp - November 2, 2026
$139.99
Length
Grade Level
Gaming during Exploration Time
Child's Name
Enter your text
Child's Age
Enter your text
Save this product for later
Have questions?
3D Print and Design One-Day Camp - November 2, 2026
Date: 11/2/2026
Camp Topic: TinkerCAD design and 3D Printing
3D Print Camp
Parents: In 1 day, each child explores 3D design fundamentals using TinkerCAD and learns how digital ideas become real printed objects. Scaffolded tasks introduce basic shapes, moving and resizing, combining forms, using hole shapes, and preparing a design for 3D printing. Each session includes opportunities for older or more experienced students in grades 4–6 to take on added challenges. Campers will create a personal 3D design, and selected projects will be demonstrated on the 3D printers while all students learn the full design-to-print process.
Kids: Design it, build it, print it! You’ll use TinkerCAD to turn simple shapes into your own 3D creation, then learn how a real 3D printer brings designs to life layer by layer. By the end of the day, you’ll have your own custom project designed and ready to share!
Project Model
Every student creates their own 3D design using TinkerCAD. Throughout the day, campers learn how to build with shapes, resize and rotate objects, combine pieces, cut with hole tools, and prepare designs for printing. With a limited number of printers available, campers will take part in live print demonstrations and may have selected designs printed based on size and time. Helpers are welcome for ideas, but each child designs their own project and practices their own digital building skills.
Daily Structure
4 ninety-minute sessions per day (S1–S4)
Individual computer-based design with guided instruction and hands-on demonstrations
Differentiation built into each session
Welcome to 3D — Design, Build, and Print
Outcomes: Learn what 3D design is, navigate TinkerCAD, build with simple shapes, combine and subtract forms, and understand how designs are prepared for 3D printing.
S1 What Is 3D? + TinkerCAD Basics
Activities: Explore printed objects such as keychains, figurines, and stands. Learn the difference between 2D and 3D, then open TinkerCAD and practice moving, rotating, and resizing shapes on the workplane. Begin a simple first project such as a custom name tag or badge.
Words: 3D model, shape, resize, rotate, workplane, print.
Level Up (Grades 4–6): Use more precise sizing tools and create a design with multiple aligned shapes instead of a single simple form.
S2 Building with Shapes
Activities: Learn how to stack, combine, and group shapes to make more detailed designs. Practice building a small object from basic forms and testing different sizes and layouts.
Level Up (Grades 4–6): Use alignment tools and symmetry to make a cleaner, more detailed model.
S3 Cutting, Carving, and Customizing
Activities: Use hole shapes to cut into objects and create details such as letters, windows, patterns, or decorative openings. Continue improving the main project with custom features.
Level Up (Grades 4–6): Design a more functional object, such as a simple stand, container, or piece with carved details that require careful planning.
S4 Print Prep + Showcase
Activities: Learn how a 3D printer builds objects layer by layer and what it means to prepare a file for printing. Review designs for size, thickness, and printability, then watch selected projects move into the printer queue or live demo process. Campers share their design and explain what they made.
Reflection: What did you create? What would you improve next time?
Level Up (Grades 4–6): Check design dimensions more carefully, make print-readiness improvements, and add a second feature or more polished finishing details.
Camp Essentials
Ages: 6 to 12 years old
Times:
- Full-Day: 8:30 AM–5:00 PM
- AM: 8:30 AM–1:00 PM
Location: 2171 Ivy Rd, Charlottesville, VA 22903
What to Bring: Water bottle, lunch, and one or two light snacks
Video Gaming: Allowed with parent permission during Exploration Time
Tech Provided: Computers and robotics kits (for in-camp use only; equipment stays with us)
Skill Level: Beginners welcome
Dress Code: Comfortable clothes; indoor-friendly shoes
Contact: camps@yblueridgeboost.com • (434) 260‑0636
Allergies/Medical: Share details during registration; bring any necessary meds
Behavior & Safety: Kindness first; follow staff directions; internet safety rules apply
Powered by Lightspeed
Display prices in:USD